Date: start-1/26/14 finish-2/7/14
Type: At Home, Teamwork
Cost: $$$$
Planned By: Both
So Adam and I have a pretty large finished basement. We had to find something to fill up the space with so we decided we wanted a home bar. We searched online for pre-made ones and got some quotes for custom built ones. They were all really expensive so then we looked in to doing it our self. I was pretty nervous about this route because we haven't spent a lot of time building things and we didn't have many tools, but Adam was sure he could do it. (Which btw he is awesome. The best husband ever. He's super smart, handsome, and after this project he is very handy around the house. I think I'll keep him.)
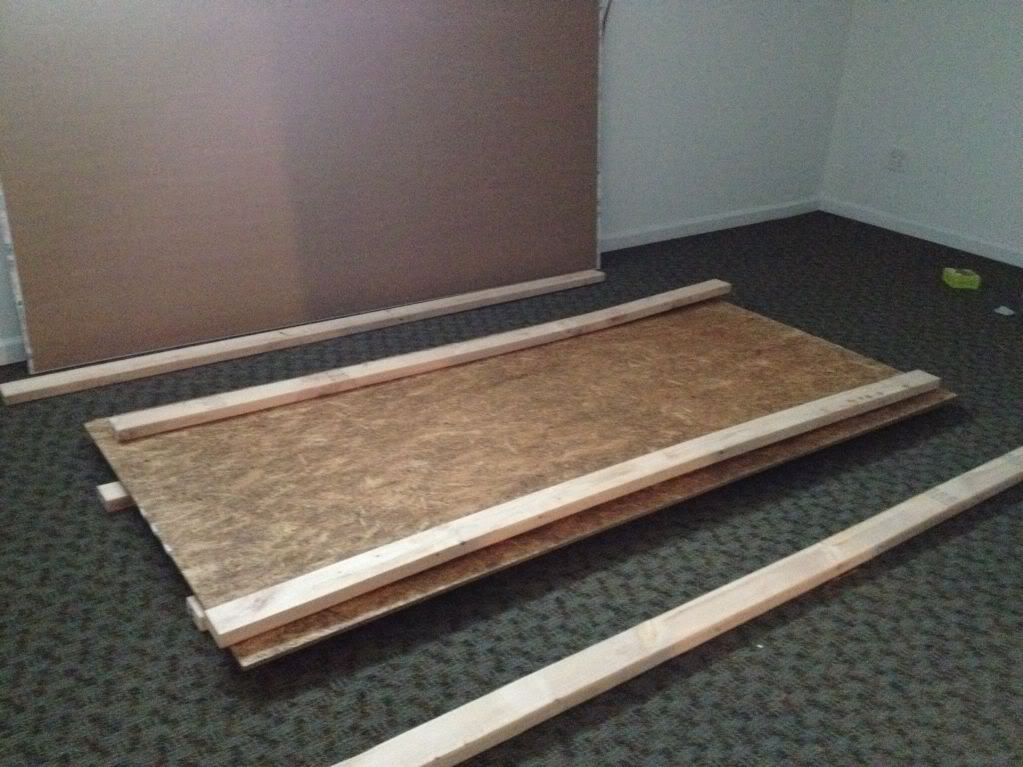
So Adam "drew" up some plans (in his mind) and we made a list of all the materials we needed. We ordered them from Home Depot and it was all ready for us to pick up.
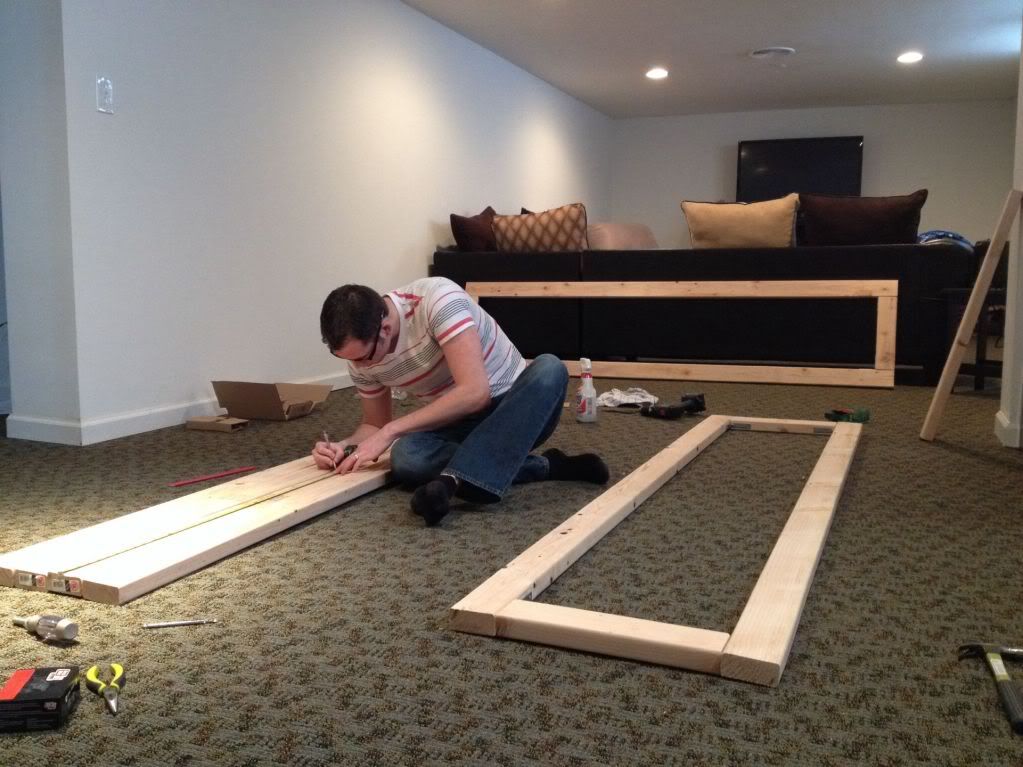
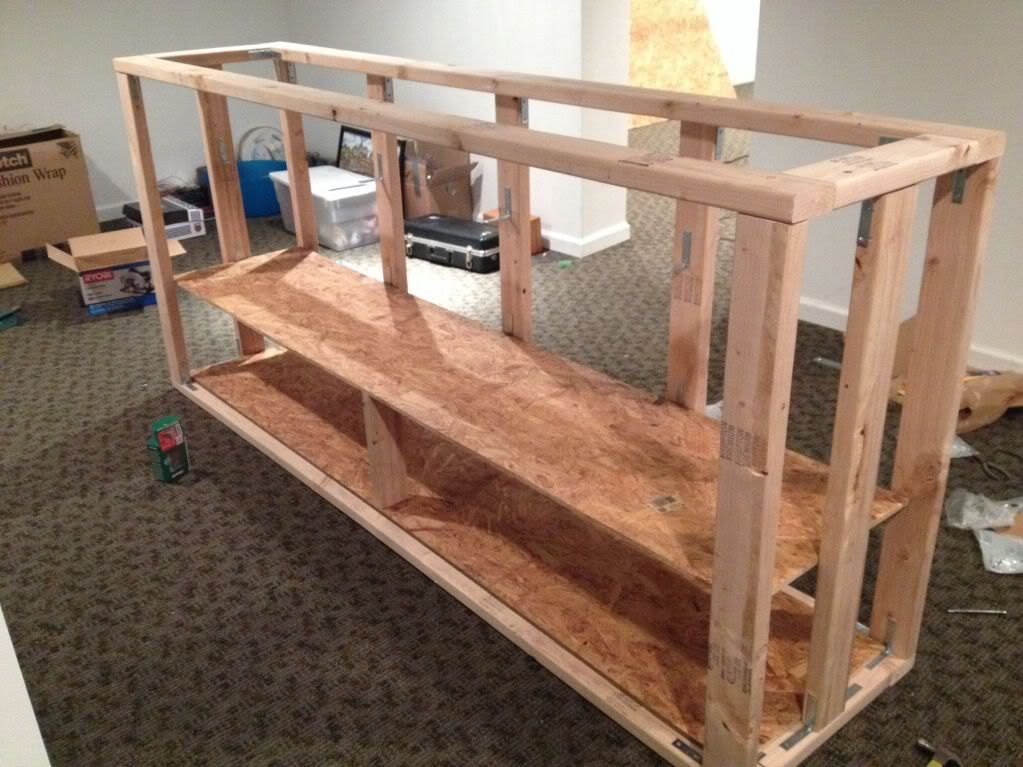
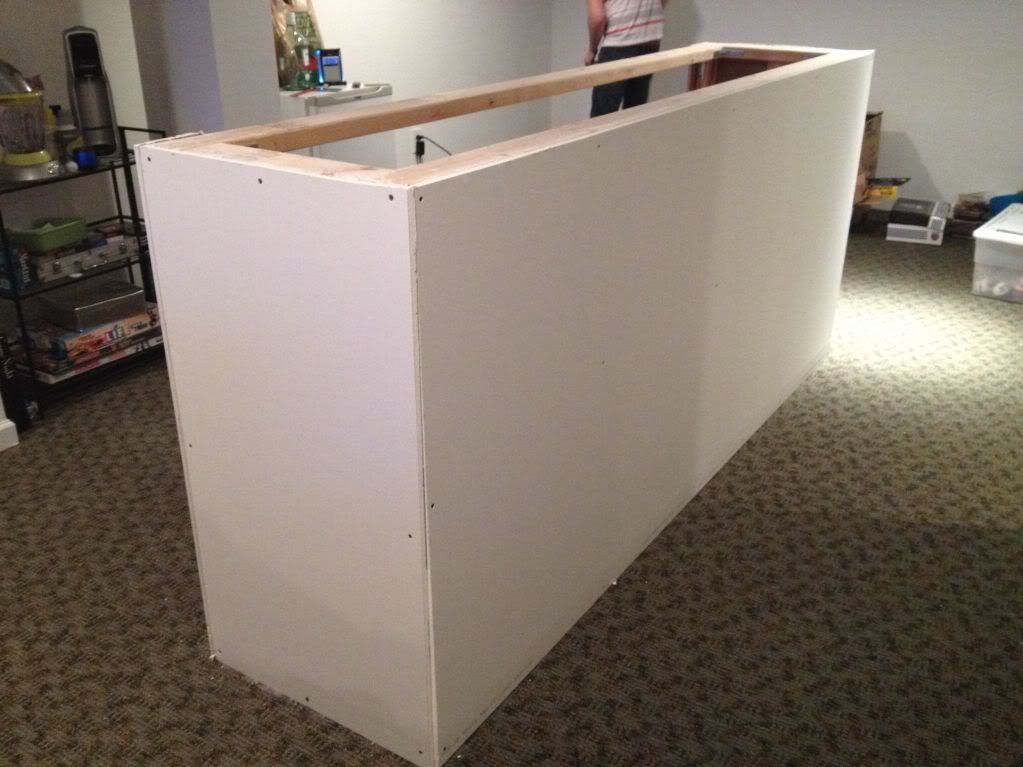
First, we built the frame. We used our brand new circular saw to cut the 2x4s to the correct lengths and then connected them all with L brackets (corner braces). We could have just used screws, but the L brackets really added strength and support to the frame.
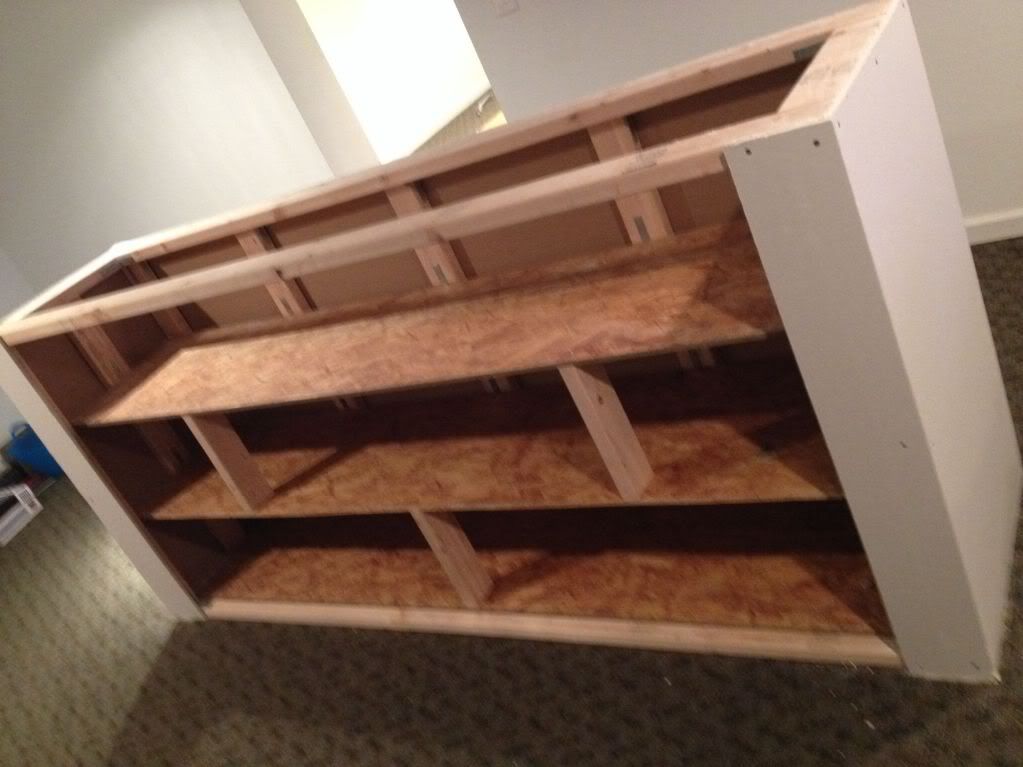
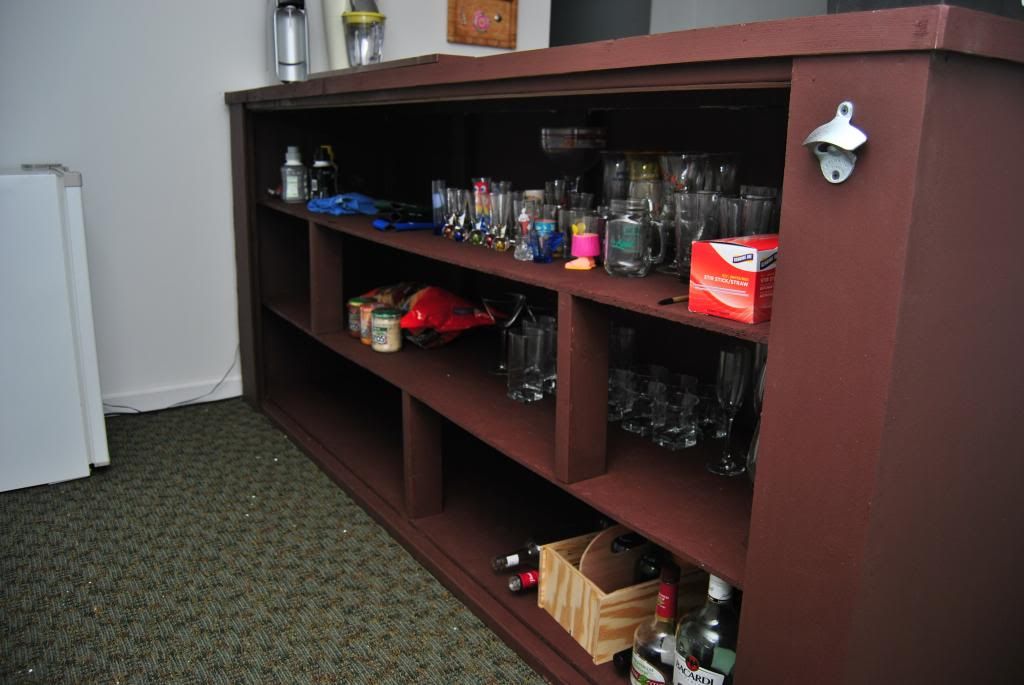
Then we cut our ply wood. We made three shelves for inside the bar and the top of the bar with our ply wood. It was a little difficult to cut this without an actual work bench for a saw, but it turned out find. We put the shelves in with some more L brackets and 2x4s for support.
On the front and sides of the bar we used dry wall. We cut it to the right measurements and screwed it in to the frame. Then we had to fill in all the screw holes and fix the corners that didn't line up properly with spackle.
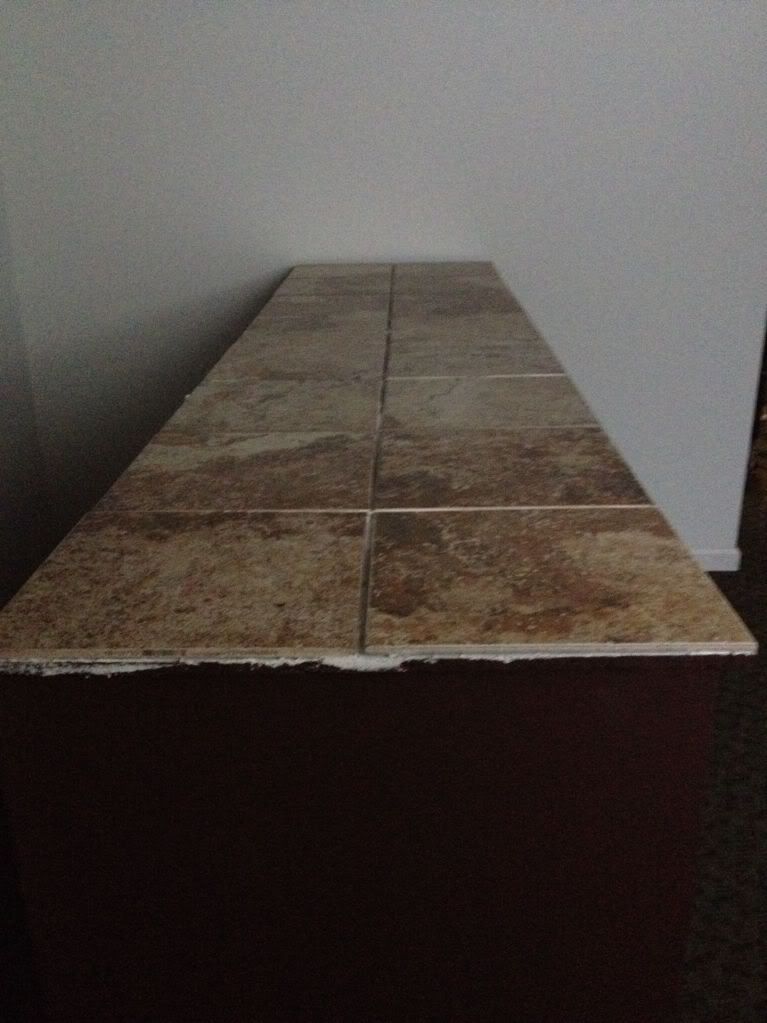
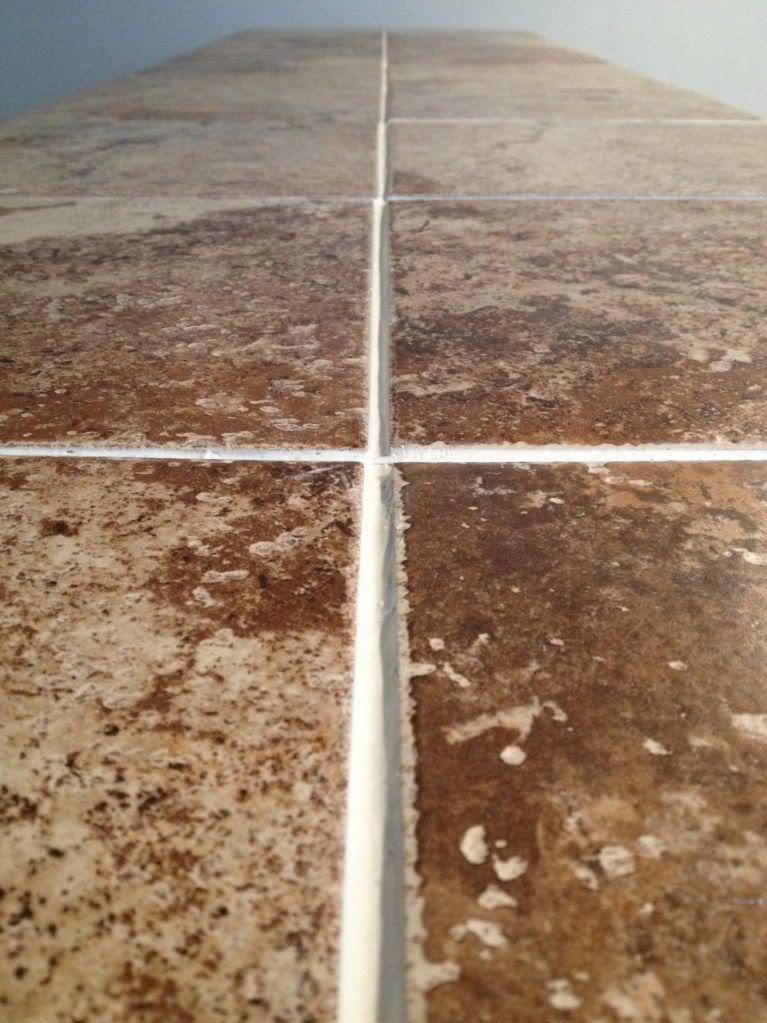
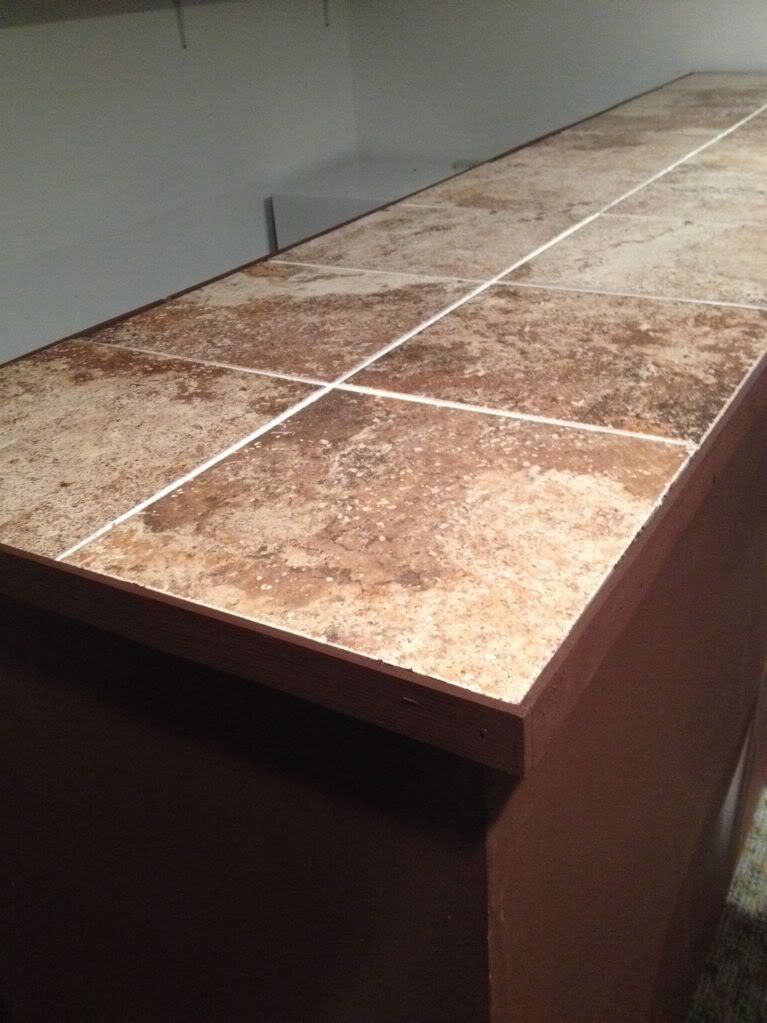
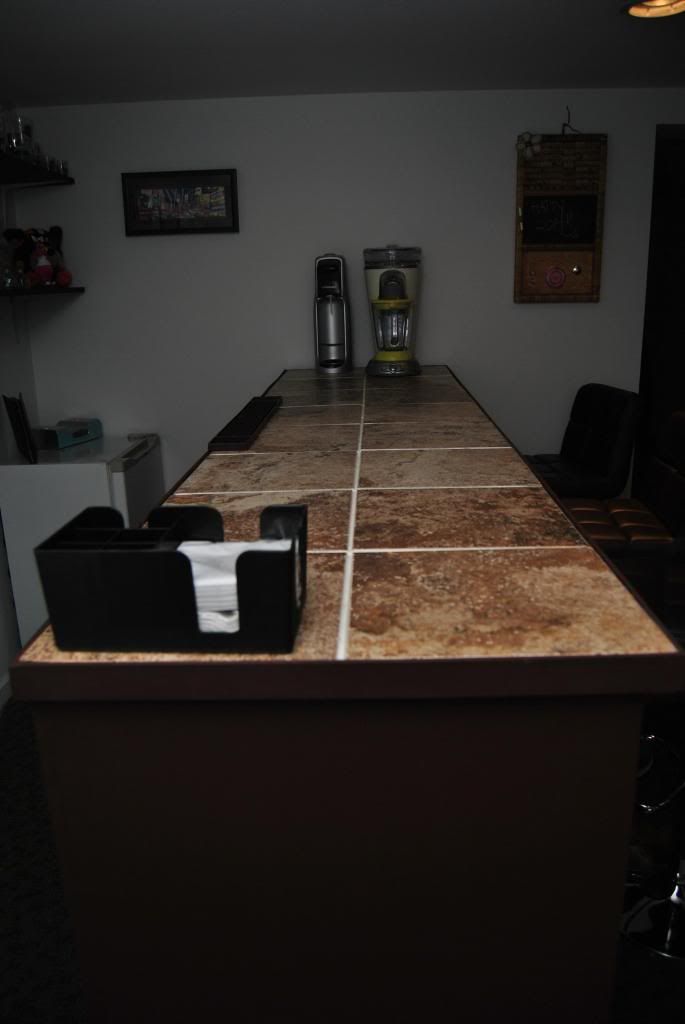
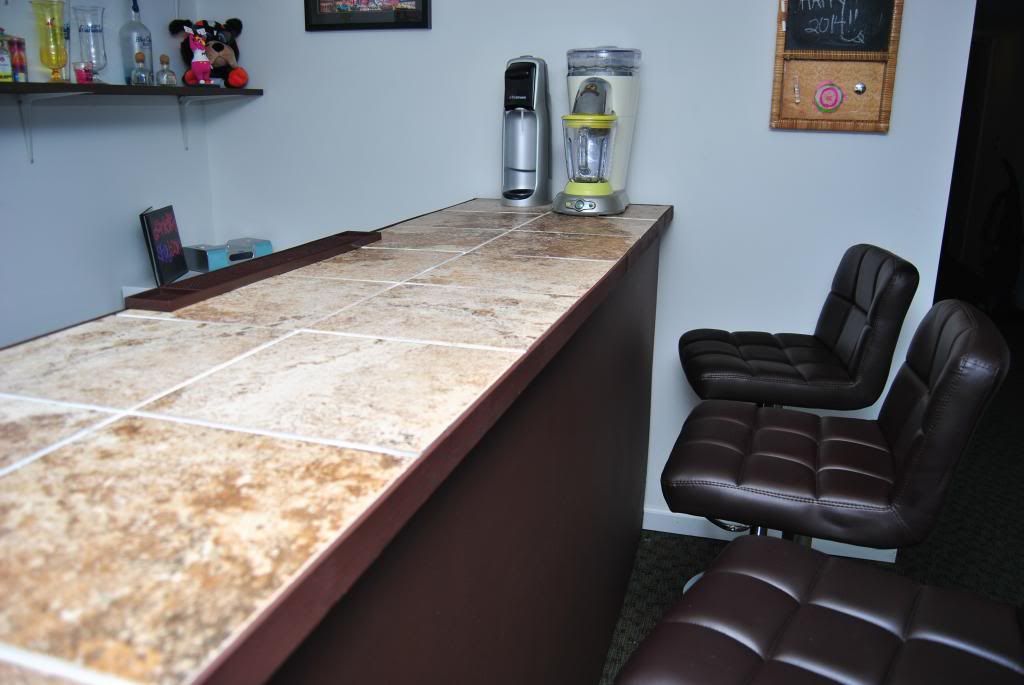
Next, we put the ply wood on top and painted the entire thing brown. When that was all dry we put the tile on the bar top. We got a pretty cream and brown tile to match our family room. We used mortar to lay it on the ply wood. Then we put in some white grout and sealed it with some spray.
Trim was one of the hardest parts of this bar. We got some nice trim for the sides and front, but had a lot of trouble getting it to stay so we went with a simpler trim that was much easier to put on the bar. We painted it and it definitely made the unit look much better.
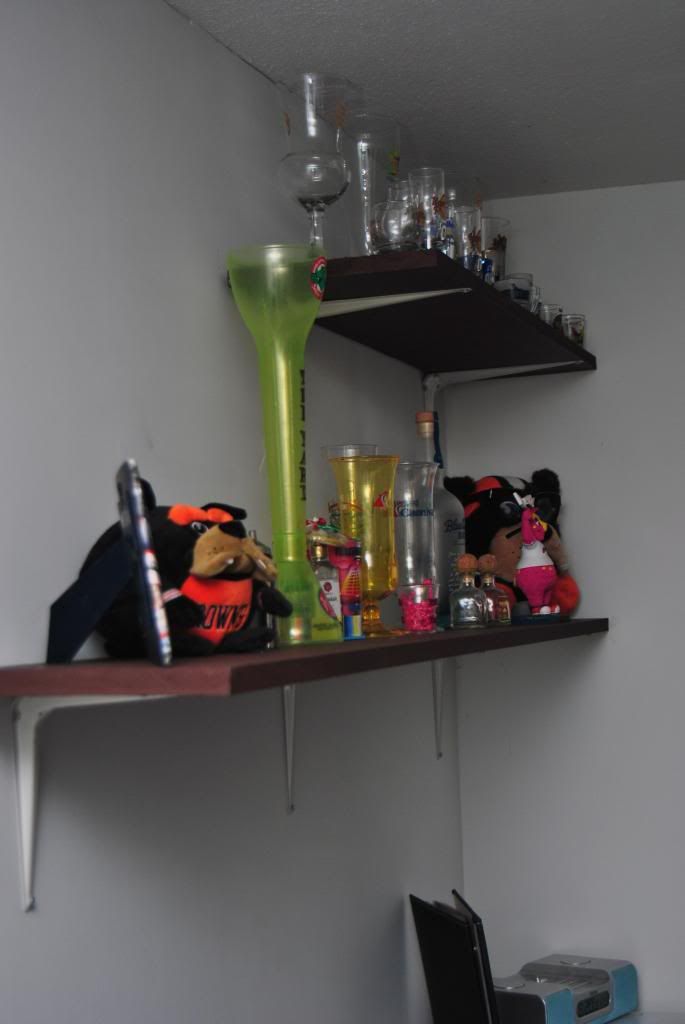
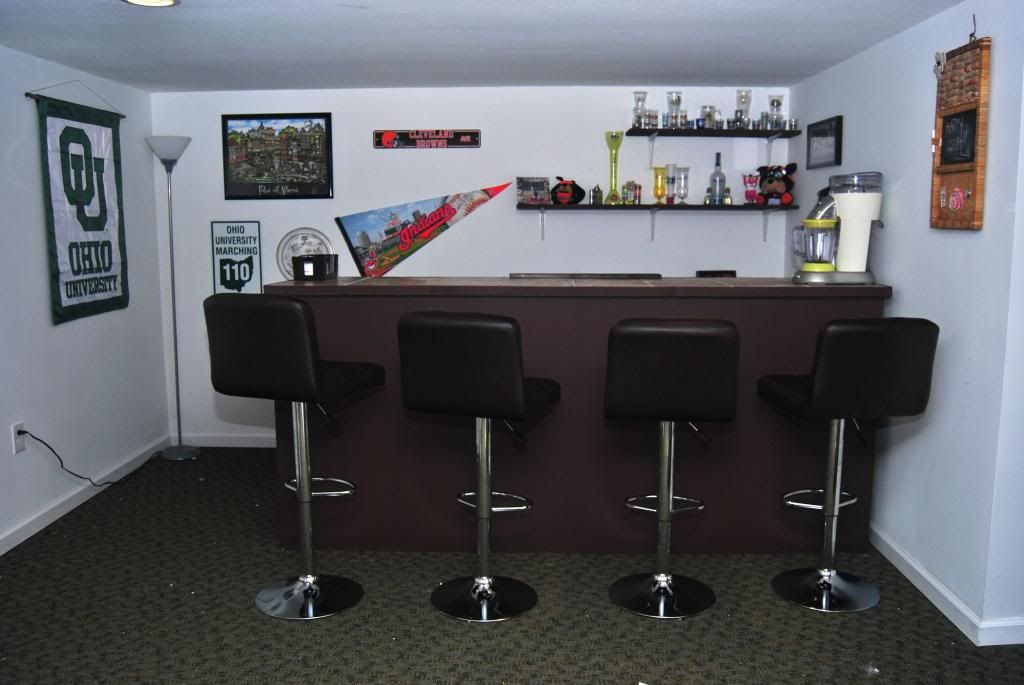
We put up some shelves behind the bar for decor and bottles using cheap wood and brackets. We painted those the same brown as the bar.
Last, we put together our four stools and decorated the area!
We are so happy with our first DIY project in our new home. I think it looks amazing, and I'm very proud of us! I don't think we'll be doing another project for a little while, but we did a great job working as a team! :)
For complete instructions e-mail me: daniellejneubauer@gmail.com


No comments:
Post a Comment